
Snowflake
This pages describes how to integrate Tableflow with Snowflake so that you can query Iceberg tables created by WarpStream in Snowflake.
WarpStream Iceberg Catalog
Section titled “WarpStream Iceberg Catalog”This guide explains how to query WarpStream Tableflow tables by connecting Snowflake to the WarpStream Iceberg REST catalog.
1. Prepare the Base URL and Authentication
Section titled “1. Prepare the Base URL and Authentication”Get the base URL and authentication for the next step by following the instructions in Construct the Base URL and Authenticate.
2. Create Catalog Integration
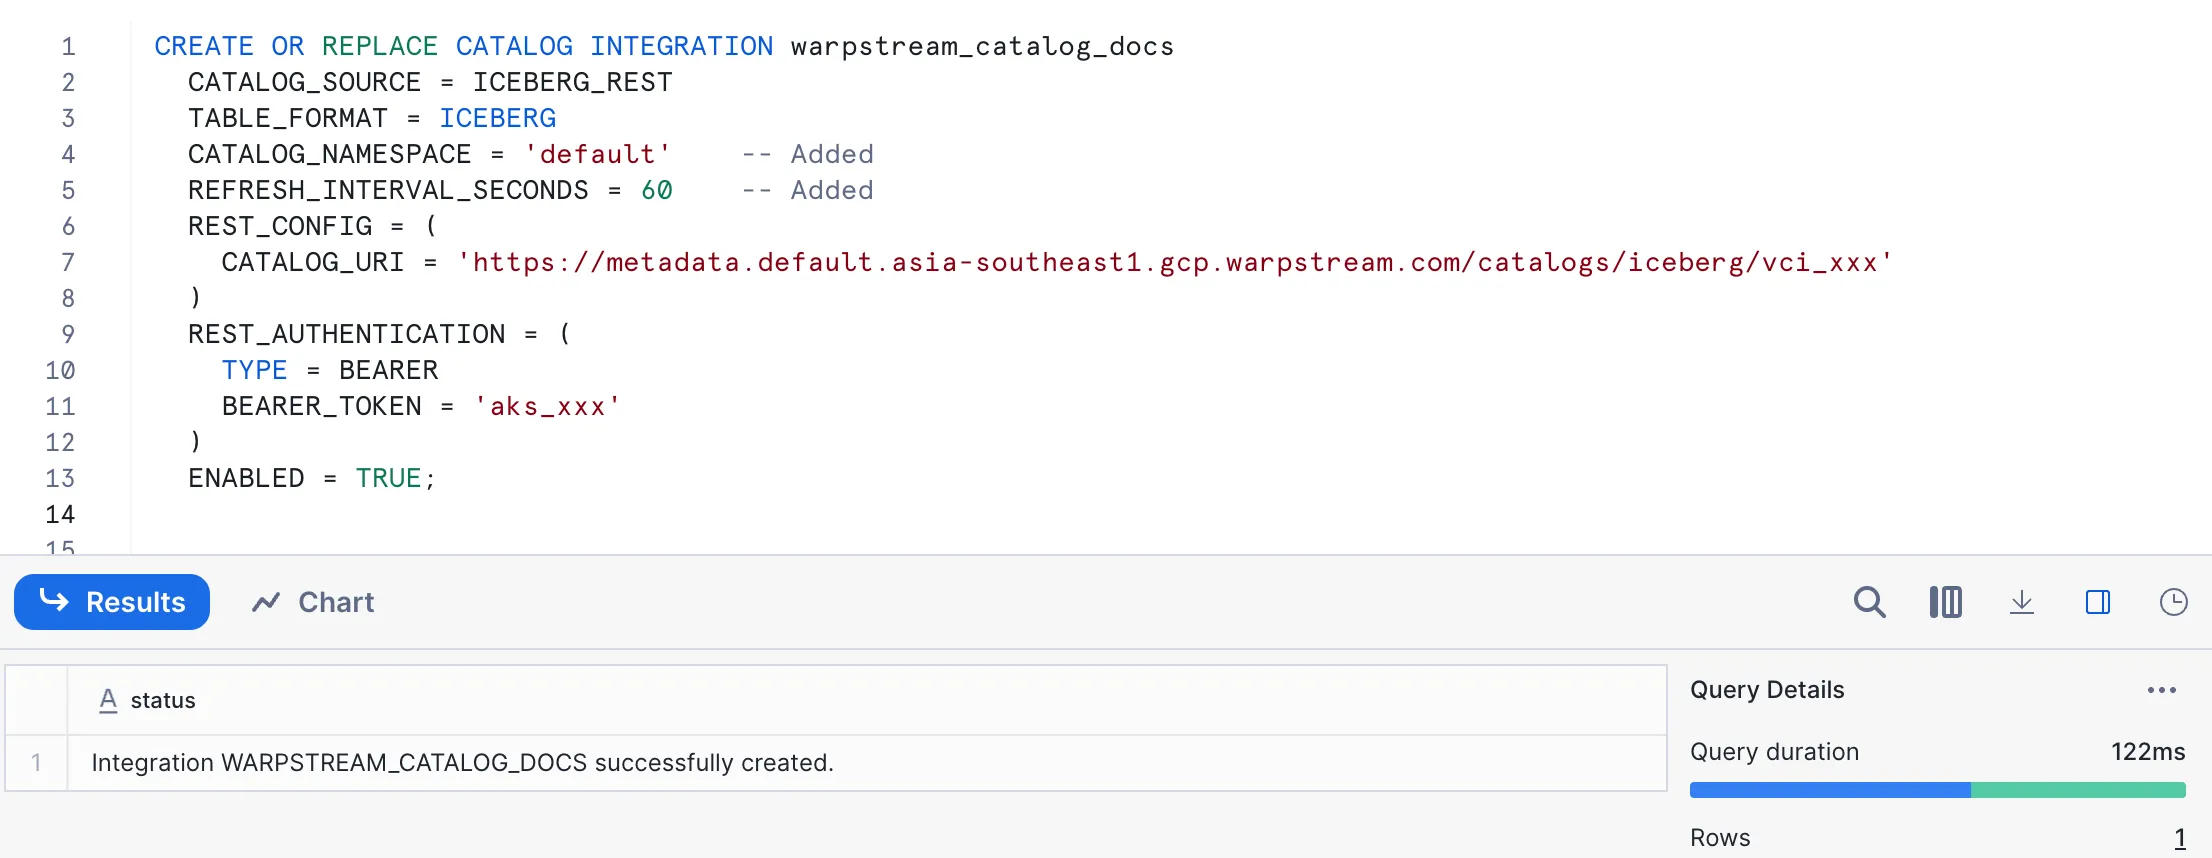
Section titled “2. Create Catalog Integration”CREATE OR REPLACE CATALOG INTEGRATION warpstream_catalog CATALOG_SOURCE = ICEBERG_REST TABLE_FORMAT = ICEBERG CATALOG_NAMESPACE = 'default' REFRESH_INTERVAL_SECONDS = 60 REST_CONFIG = ( CATALOG_URI = '$BASE_URL' ) REST_AUTHENTICATION = ( TYPE = BEARER BEARER_TOKEN = '$AGENT_KEY' ) ENABLED = TRUE;Replace:
$BASE_URL- Base URL from the previous step.$AGENT_KEY- Your WarpStream Agent Key (starts withaks_) from the previous step.
3. Create External Volume
Section titled “3. Create External Volume”Configure an external volume <warpstream_volume> pointing to your Tableflow storage bucket by following these instructions: https://docs.snowflake.com/en/user-guide/tables-iceberg-configure-external-volume
Basically, you will need to configure the correct authentication or privileges (IAM role, GCS principal etc.) depending on the storage provider, and then run this command to create an external volume:
CREATE OR REPLACE EXTERNAL VOLUME <warpstream_volume> STORAGE_LOCATIONS = ( ( NAME = '<warpstream_volume>', STORAGE_PROVIDER = '<storage_provider>', STORAGE_BASE_URL = '<bucket_url>' ) );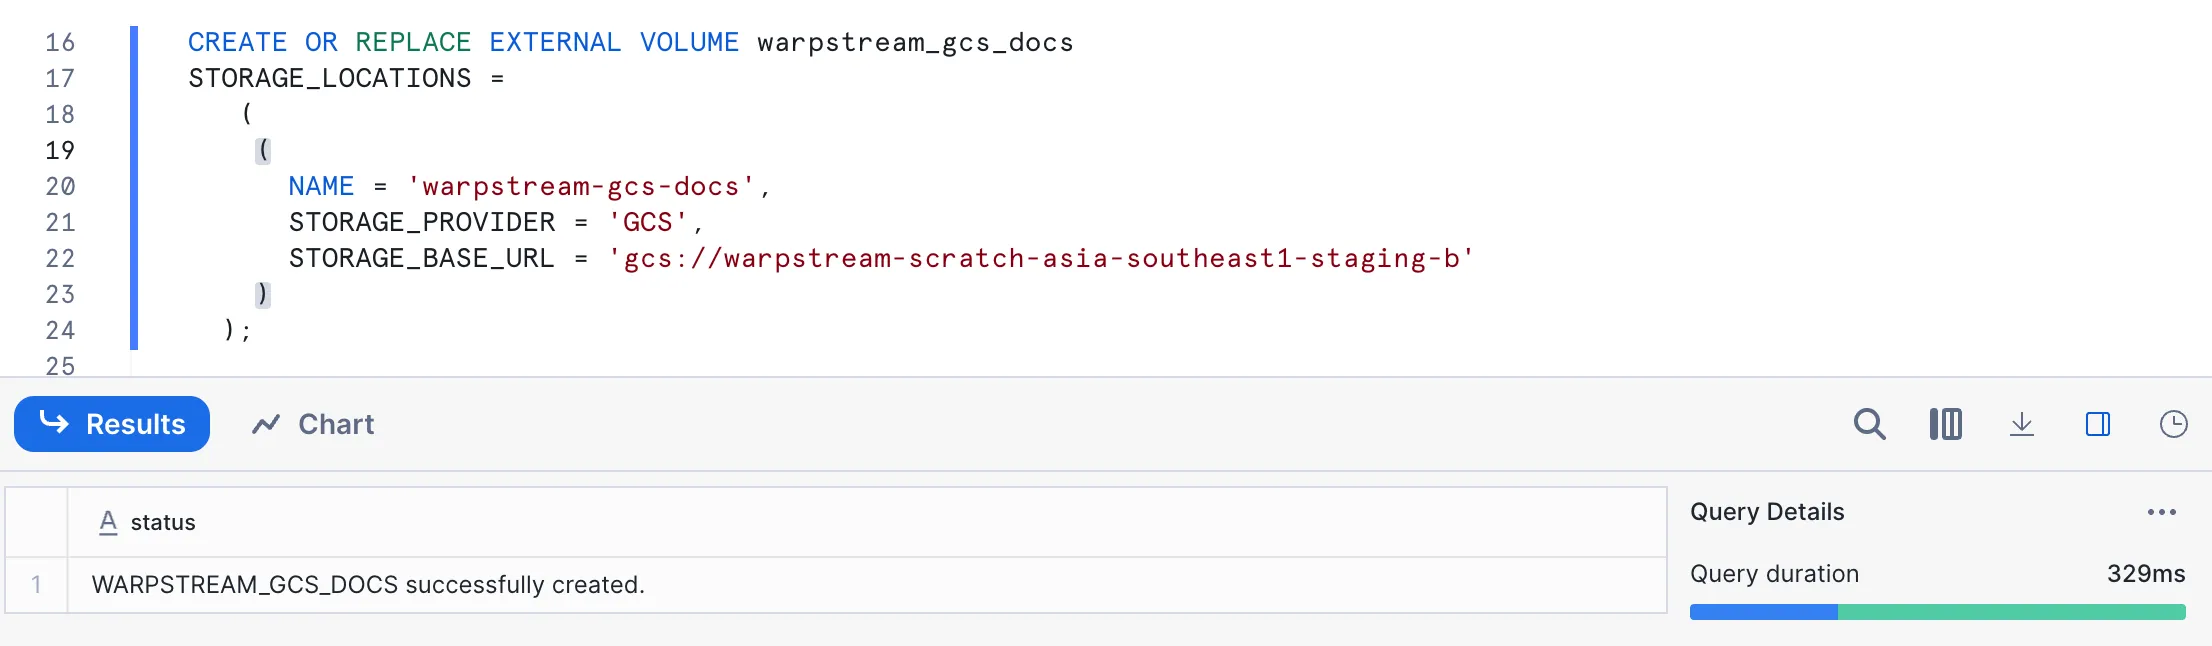
4. Create Iceberg Table
Section titled “4. Create Iceberg Table”CREATE OR REPLACE ICEBERG TABLE my_table EXTERNAL_VOLUME = '<warpstream_volume>' CATALOG = 'warpstream_catalog' CATALOG_TABLE_NAME = '<table_name>';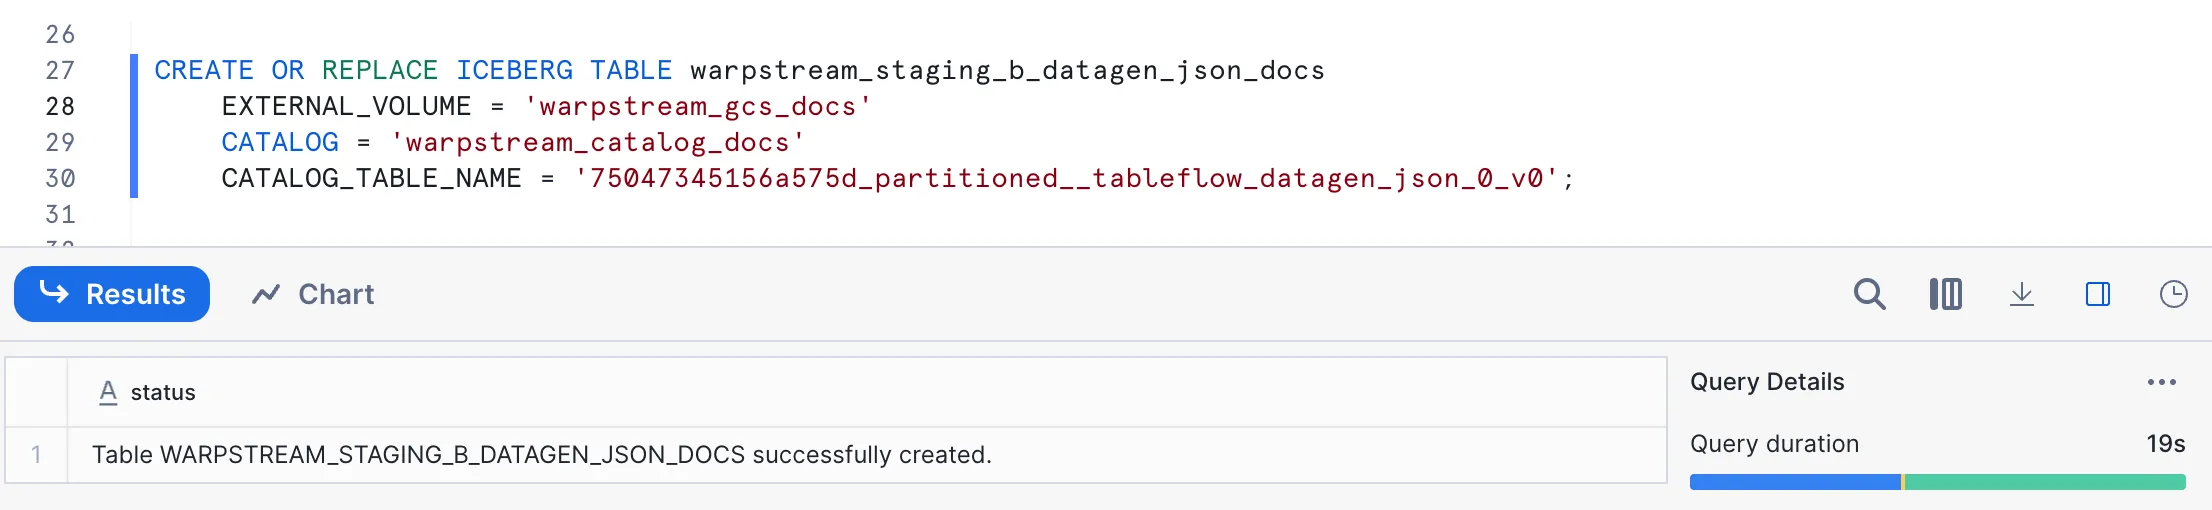
5. Query the Table
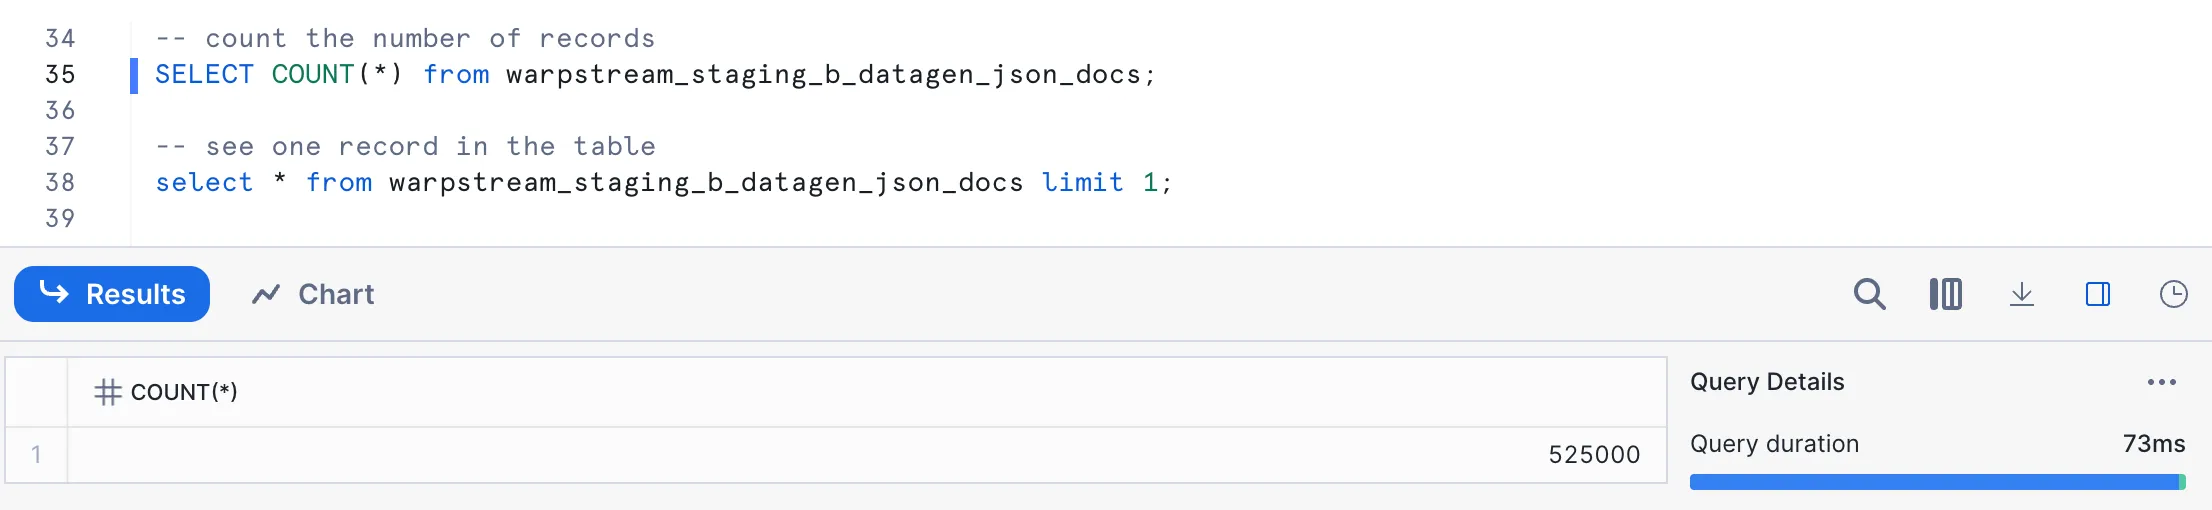
Section titled “5. Query the Table”-- Count recordsSELECT COUNT(*) FROM my_table;-- View sample dataSELECT * FROM my_table LIMIT 10;